


Faux Neon, it's all the Rage!
- Mar 5, 2018
- 2 min read

Want to learn how to make your very own neon sign? It doesn't have to cost thousands of dollars or involve tons of technical equipment! Follow along below to create a one-of-a-kind sign that screams YOU.
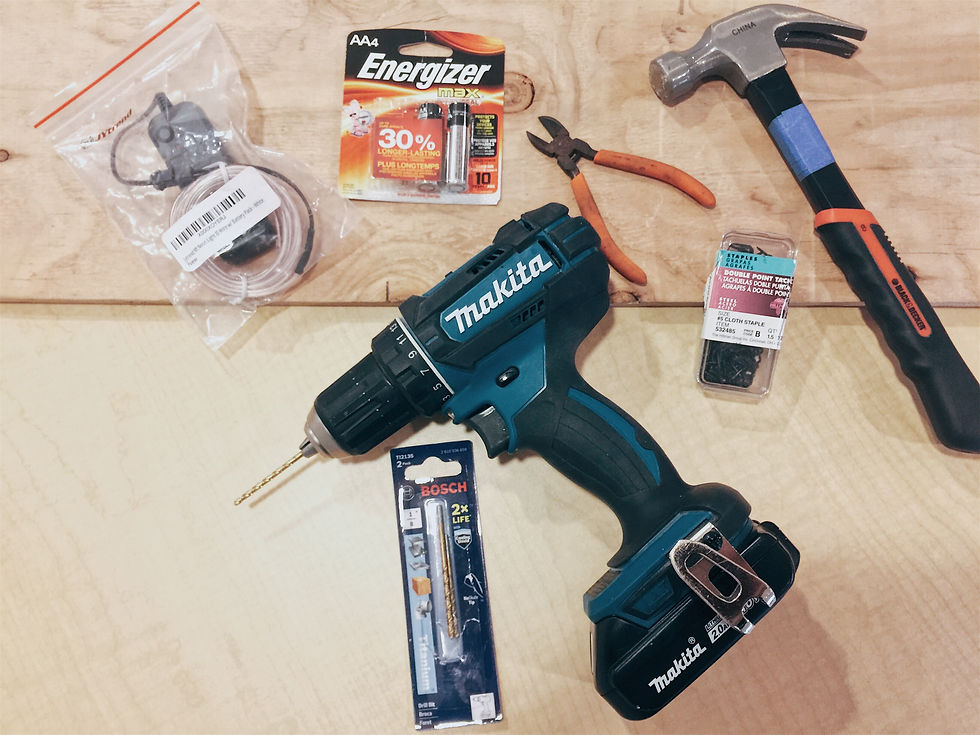
What You'll Need:
Pencil or Pen
Print out of Word
Colored Chalk
El Wire with Battery Pack
Wooden Board
Cordless Drill
1/8" Drill Bit
#5 Cloth Staples
Hammer
Cutting Pliers
AA Batteries
Step 1: Prep your Board
Sand the visible surface of your board, paint it a color of your choice, or paint the letters directly on it. We chose to leave it rough and rugged.
Step 2: Transfer your Font
Print out your desired font in desired size on regular printer paper. Flip paper over and cover with colored chalk - be sure to use a color you can see on the surface but that you can easily get rid of later. Flip paper back over and position where desired on surface. Take blunt writing utensil and trace outline of word. Remove the paper and there will be a transfer of the word. If it is too light or didn't work, try using more chalk.

Step 3: Drill Holes for El Wire
Using your drill, make holes where the wire should be on the back of the surface, AKA where you won't want it to shine through. This will most likely be where the letters end and begin and any place where there is a cutback.
Step 4: Thread the Wire
Remove the plastic end cap on the el wire and begin threading it through the holes you drilled in step 3. Start at the beginning on the word and leave enough wire to fill your transfer.

Step 5: Staple Down Wire
Begin shaping your wire and pulling it until you get it at the desired angle to fill your transfer. Use your hammer to tack the wire in place, but do not hammer down all the way. This will allow you to adjust after you get it relatively close.

Step 6: Finalize Design
Adjust wire as desired to achieve fluid lines. Hammer down staples just until the wire doesn't move. Do not hammer down flush with surface or you will break your circuit!
Comments